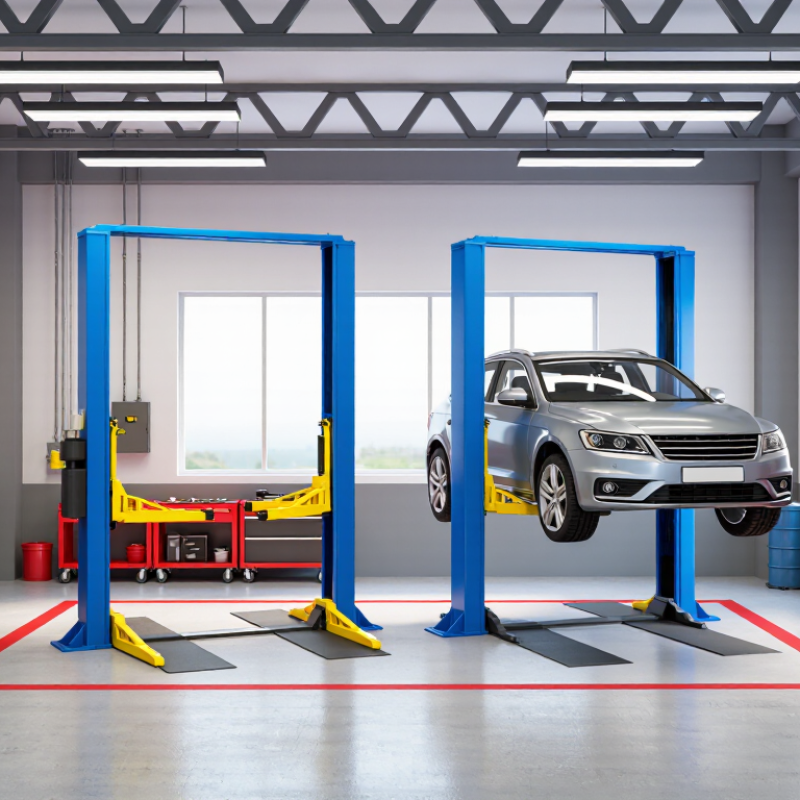
| 1. Match capacity to the vehicle | Check the vehicle’s actual weight and the lift’s rated capacity. Allow for accessories and intended use; never exceed the rating. | Capacity is applied through four swing arms and their approved lifting points. | The vehicle rests on runways; confirm the rating suits the vehicle and any planned storage use. | Capacity and platform layout vary by design; verify the vehicle is supported at the specified points. | Portable designs have different ratings and configurations. Check both the lift rating and vehicle compatibility. |
| 2. Measure the garage first | Measure ceiling height, bay width, door clearance, and the vehicle’s height with the lift raised. | Check overall width, column height, arm reach, and overhead clearance. | Runways take up floor width, and raised vehicles need sufficient ceiling clearance. | Low-rise models can fit under lower ceilings, but raised working height is often less than a full-rise lift. | Some units can be moved aside after use; still check their footprint, operating clearance, and storage space. |
| 3. Consider the work you do | Choose around routine tasks such as wheel work, underbody repairs, detailing, or vehicle storage. | Provides open access to many wheels and underbody areas when the arms are positioned correctly. | Useful for vehicle storage and drive-on access; runways can limit access to some underside areas without accessories. | Often suited to tire, brake, and detailing work; access depends on whether the design is platform or wheel-engaging. | Can suit occasional maintenance when the lift’s design supports the required access and lifting points. |
| 4. Check the floor and installation requirements | Confirm concrete thickness, strength, condition, and anchoring requirements with the lift manual and a qualified installer. | Typically anchored to the concrete floor; proper slab suitability and installation are essential. | Many models are designed to stand on a suitable level floor, but anchoring or other site requirements may apply. | Requirements vary. Recessed installations need additional planning; surface-mounted models still need a suitable floor. | Portable does not mean suitable for every surface. Use only on the level, load-bearing surface specified by the manufacturer. |
| 5. Verify vehicle compatibility | Compare wheelbase, track width, ground clearance, lifting-point locations, and vehicle weight with the lift’s specifications. | Arm reach and pad placement must suit the vehicle’s approved lifting points. | Runway length and spacing must accommodate the vehicle’s wheelbase and track width. | Check platform length, width, pickup points, and clearance beneath the vehicle. | Confirm the vehicle fits the lifting adapters or platforms and that its approved lift points are accessible. |
| 6. Think about vehicle stability | Follow the lift’s loading procedure, distribute weight as specified, and use its mechanical safety locks. | Correct arm placement and balanced loading are critical; engage the mechanical locks before working underneath. | Drive on and position the vehicle as directed; use the mechanical locks when elevated. | Position the vehicle on the specified lift points and engage the safety locks as instructed. | Set up on a stable, level surface and follow the prescribed lifting and locking procedure; never rely on hydraulics alone. |
| 7. Plan for electrical and hydraulic needs | Check the required power supply, motor specifications, hydraulic system, and any installation work before purchasing. | Usually uses a powered hydraulic unit; power requirements depend on the model. | Typically uses a powered hydraulic unit, with configuration and power needs varying by model. | Hydraulic operation is common; check whether the pump and controls suit the available power supply. | May use a powered hydraulic unit or another specified mechanism. Review the setup and operating requirements. |
| 8. Evaluate storage and floor-space needs | Decide whether the lift will stay installed, provide vehicle storage, or need to be moved between jobs. | Columns and arms remain in the bay and may restrict movement around the vehicle. | Runways occupy floor space but can support approved vehicle-storage arrangements. | Some low-rise designs can be stored or moved when lowered; confirm the model’s handling method. | Designed for easier relocation in some configurations, though moving and storage still require appropriate space and handling. |
| 9. Compare operating convenience | Consider loading time, access around the vehicle, control placement, and whether one person can operate the lift safely. | Requires correct arm setup before lifting; useful when unobstructed wheel access is important. | Drive-on loading can be convenient, though ramps and runways need clear access. | May offer a compact setup, but vehicle positioning and access depend on the lift’s platform design. | Can be convenient for occasional use, but setup, alignment, and handling may take additional time. |
| 10. Check service, inspection, and safety documentation | Review the operating manual, maintenance schedule, safety features, applicable local requirements, and availability of qualified service. | Inspect arms, pads, cables or synchronization components, hydraulic parts, anchors, and safety locks as directed. | Inspect runways, cables or synchronization components, hydraulic parts, and locks according to the manual. | Check platforms, lifting mechanisms, hydraulic components, and locks at the intervals specified by the manufacturer. | Follow the stated setup, inspection, and maintenance procedures; confirm safe use and service support for the intended application. |


 Your message must be between 20-3,000 characters!