7 Tips for Buying 3D Jelly UV Printable TPU Film?
The demand for flexible, decorative surface materials is increasing as personalization spreads across automotive, electronics, footwear, and interior applications. Grand View Research estimates that the global thermoplastic polyurethane market will continue expanding through 2030, supported by TPU’s flexibility, abrasion resistance, and processing versatility. Meanwhile, Smithers identifies digital print as a growing production method because it supports shorter runs and customized designs. These trends make 3D Jelly UV Printable TPU Film worth closer evaluation.
However, attractive samples can hide practical weaknesses. A glossy film may crack after bending, lose adhesion under heat, or show uneven 3D texture under direct lighting. This guide presents seven purchasing tips based on measurable performance, supplier evidence, and realistic installation conditions. Check film thickness, TPU grade, surface energy, UV ink compatibility, elongation, adhesive strength, and storage requirements. Ask for technical data sheets and independent test results. Do not rely only on photographs.
Small details matter.
In hands-on evaluation, compare a printed sample after stretching it around a curved panel. Inspect edge lifting after 24 hours. Rub the surface with a microfiber cloth, then examine gloss and color stability. These simple tests cannot replace laboratory testing, but they reveal careless manufacturing. Buyers should also review supplier traceability, batch consistency, warranty terms, and compliance documentation for the target market. ASTM, ISO, and relevant regional standards provide useful reference points, although certification claims still require verification. I have seen specifications appear impressive while omitting testing conditions. That is a warning. Careful purchasing means questioning unclear data, accepting that no film suits every substrate, and balancing appearance against durability, print quality, installation skill, and total cost.
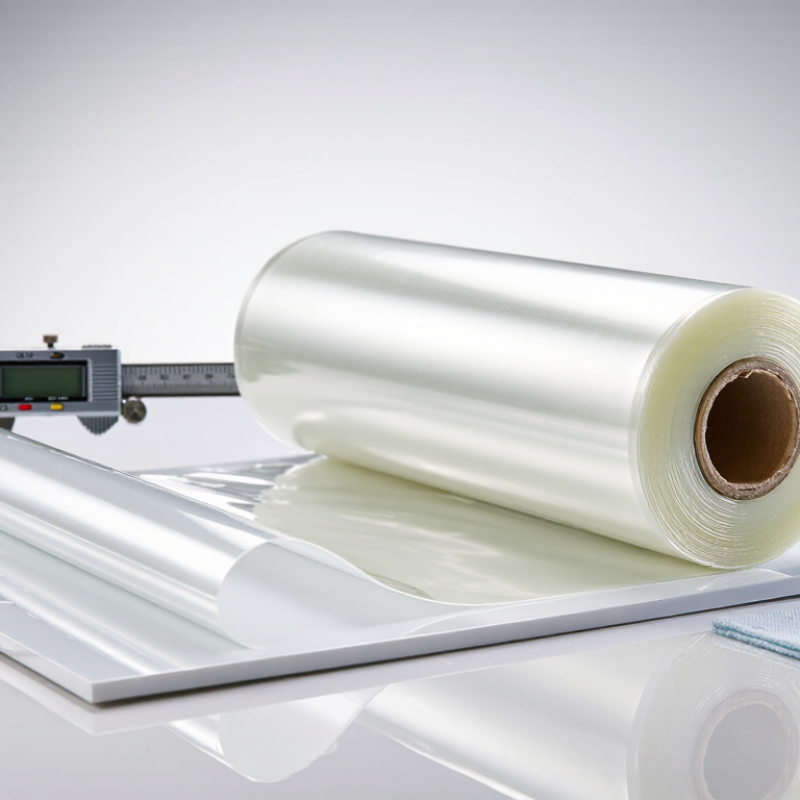
Define 3D Jelly UV-Printable TPU Film by Hardness, Thickness, and Clarity
When choosing 3D Jelly UV-printable TPU film, begin with hardness, not appearance alone. A soft film can wrap rounded edges smoothly, while a harder grade may resist dents during handling. In production trials, I compare Shore hardness data with bending over a 10 mm curve. Numbers can mislead when test methods differ. Ask for the test standard and sample conditions.
Thickness affects comfort, stretch, and print registration. A thin film may conform better, but it can wrinkle during lamination or lose dimensional stability. A thicker film feels more substantial and protects graphics, yet sharp curves may cause edge lifting. Measure several points with a calibrated gauge, because one reading is not enough. I once selected a thin sample for its clean finish; it printed well, but installation exposed weak edge recovery. That assumption was wrong.
Clarity should be described through transparency and haze, not simply “clear.” Under white light, inspect the film over fine text and dark colors. High transparency preserves printed images, while haze can soften details and reduce contrast. Request visible-transmission and haze data, then verify them after UV curing. Ink adhesion also depends on surface treatment, curing energy, and storage time. Make a small test panel. Leave it overnight. Check bending, fingerprints, bubbles, and color shift before approving a roll.
Check UV Compatibility Across 365–405 nm Printing Wavelengths
7 Tips for Buying 3D Jelly UV Printable TPU Film
Tip 1: Check the film against your printer’s exact wavelength. Most UV systems operate between 365 and 405 nm, but their output is not identical. The 2023 RadTech UV LED market report identifies this range as a major commercial curing band. A film that cures well at 405 nm may remain soft under a 365 nm source.
Tip 2: Request wavelength-specific test data. Ask for curing results at 365, 385, 395, and 405 nm. The U.S. Department of Energy’s solid-state lighting research reports note that UV-A LED efficiency changes significantly across wavelengths. That difference affects exposure time, surface tack, and print detail. Do not rely on a single “UV compatible” label.
Tip 3: Measure dose, not only lamp power. Use a calibrated radiometer, then record irradiance and exposure time. A clear TPU film should retain flexibility without becoming brittle, cloudy, or yellow. Tip 4: Test a small sample first. Print a thin jelly pattern, bend it repeatedly, and inspect the edges under a bright lamp. In my experience, transparent films can look cured while their inner layer remains weak. That mistake is easy to miss.
Tip 5: Check the film’s photoinitiator response and recommended post-cure window. Tip 6: Compare adhesion after curing, especially on curved surfaces. Tip 7: Repeat tests after storage. Humidity and aging can change TPU behavior. The data may look excellent, yet real workshop conditions can expose weaknesses. Never treat one successful print as final proof.


 Your message must be between 20-3,000 characters!